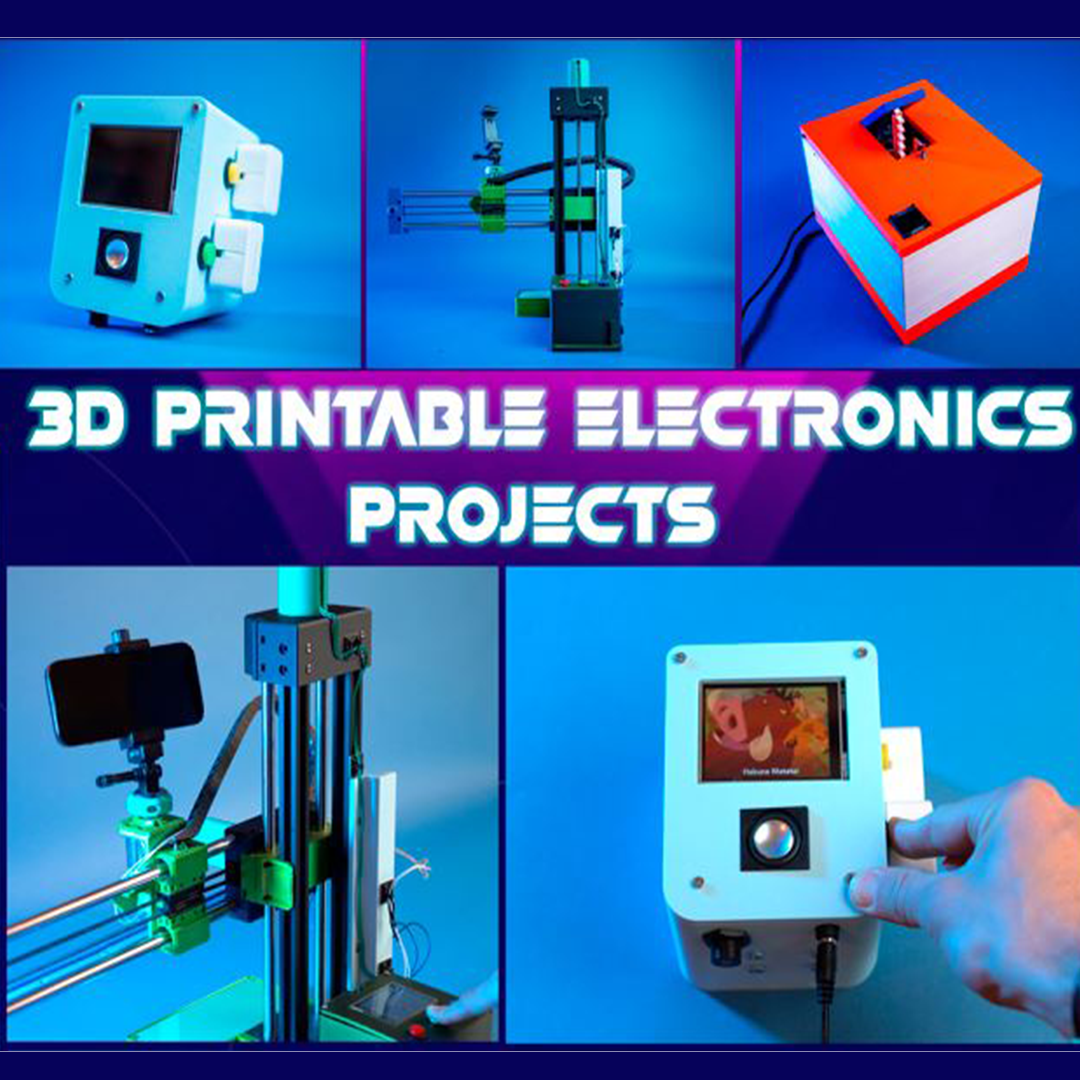
This Bundle Includes all three of the 3D Printing + Electronics project STL files:
- Blinds Controller
- Switchbox
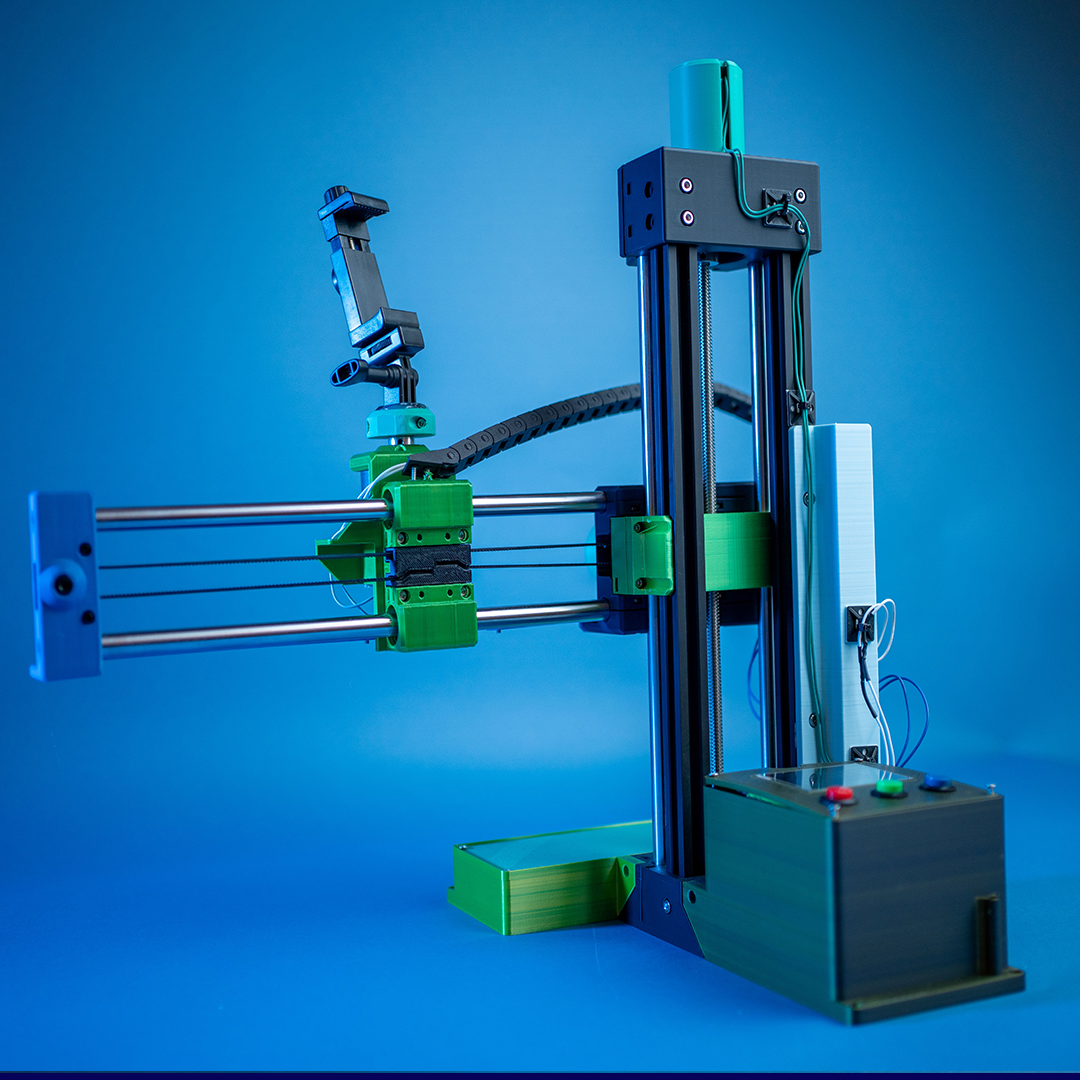
- Camera Slider
- Full third party hardware list
- Video tutorials & preconfigured code
As we mentioned, these projects are a little different from the basic .STL files that you can just download and print from websites like Thingiverse or Printables. You will need to purchase some third party hardware. Below is a sample gear list of the parts used in the SwitchBox so you can see upfront what is required and roughly how much things cost.
- Microcontroller - ESP32 -
https://amzn.to/3CZxxGH - Switch
https://amzn.to/4f8clMi - Motor Drivers -
https://amzn.to/4jXs03E - Small OLED -
https://amzn.to/431OcCK - Motors - Stepper Motors -
https://amzn.to/3SanYJD - Breadboard Wires -
https://amzn.to/4iqjNVO
Soldering Disclaimer and Third-Party Parts
For these projects you will need to do some basic soldering to attach the electronic components. We will have a full instruction breakdown, and you can get a super basic soldering iron here. For these projects you will also need a couple of basic items like wires, wire strippers and a breadboard. A lot of these items you generally just need to purchase one time, and you can use them for all current and future electronics-based projects.
Detailed printing and assembly instructions, including a how-to video are included in the file delivery folder!
(Our projects are designed to be as accessible as possible!)
Step 1. 3D Print the Files.
As always, our 3D print files are optimized for completely (or nearly) support free printing, and they will fit on all common FDM printers.
Step 2. You will now need some Super Basic Electronics!
Don't worry, we're sticking to super simple and easy to get electronics. Everything we use can be purchased off Amazon.com or from most online retailers. The basic electronic parts are also very cheap. A sample gear list is in the "What's included tab" to the left, so you can see exactly what goes into a project. For example, the controller that we are using for all three projects, you can get a 3 pack for $16 (here). We're sticking to a frequent gear list as well, so a lot of the parts you use for one project, can also be used for the next!
Step 3. Download the Code Files!!
This is a brand-new step for these projects! But not to fear. All you have to do is simply download the code from the file delivery folder and then plug in the controller via USB and upload the code to it. We will provide detailed instructions, but this step generally takes less than 5 minutes, and it is the same process for all the projects :)
Step 4. Assemble your Electronics Project!
Now we can complete the build! First you will need to assemble all your electronics and your 3D prints. Assembling the electronics is pretty easy, we have a full step by step guide to go with it and will include a video for reference. One the electronics are assembled they will fit right into the 3D printed parts!
Step 5. (Optional) Customize your code!!
All projects come pre coded but are open source for our community of backers. If you like to tinker, for example maybe a light on our project is blue and you want it to match you game room and make it green, all our code is easy to adjust so you can customize!
On January 5th you will gain access to your file via email for immediate download. You can always access your file through your PrintableAccessories.com account

Your view is now a button push away!
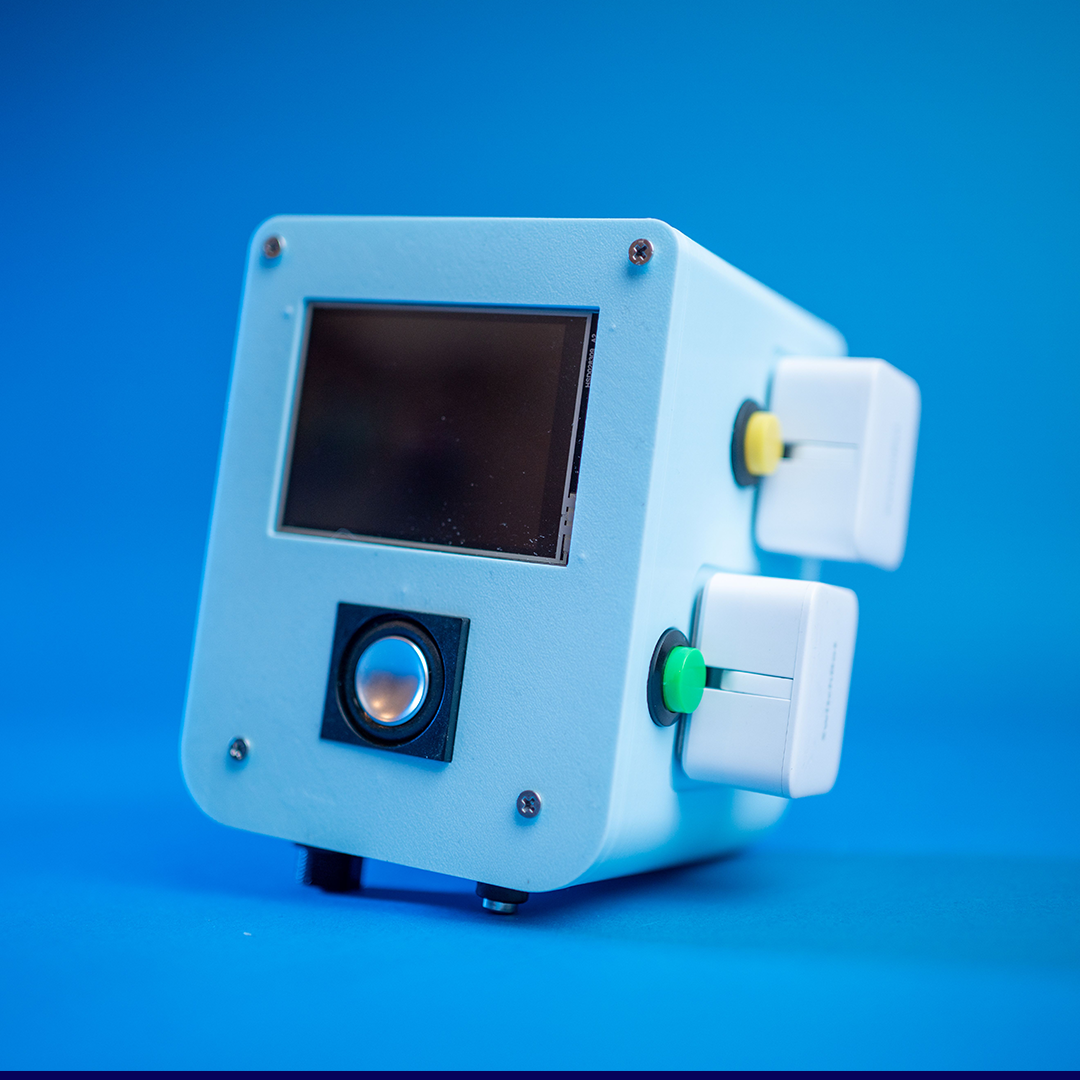
Our automated blinds controller is a super awesome functional project that allows you to raise and lower your blinds with a push of a button. This project is great because it includes use of the following: Motors, LCD Screen, Speaker, Wifi and Push Buttons.
Thats right! After you build this project you can actually control your blinds from your phone. We may have had a little too much fun with this one... We actually made it so that when the blinds are going up or down.. an animated GIF and an audio track is playing!!

Multicolor Print Themes
For the first time, introducing themed STL print files that are meticulously organized and separated to accommodate both multi-color filament 3D printing and single-color options! All 1kg filament boxes come with built in magnet slots for those who want to snap the themes on and off!

Switchbox!
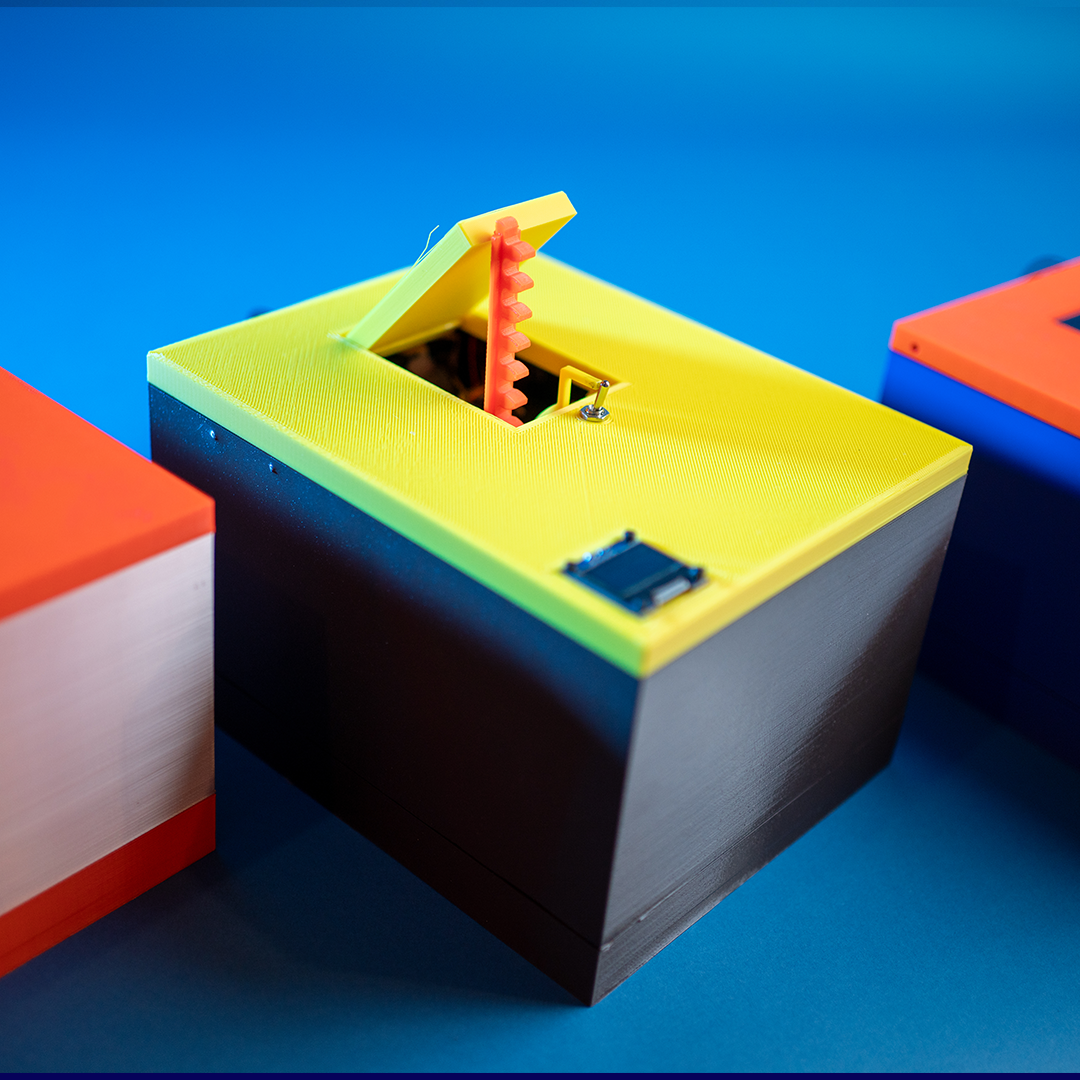
The SwitchBox is a fantastic project to learn the fundamentals of 3D Printing and Electronics, we recommend this as the first project for those who are just starting out. At its core, this project is a playful way to explore stepper motors, automation, and the integration of 3D printed parts and electronics... But really, it’s about watching people flip the switch over and over again, convinced they can win against a machine designed to say "no"! We also highly recommend giving a custom SwitchBox to someone as a gift!
Technically, it’s a classic "useless machine," but we’ve given it some personality. The programmable OLED screen allows the little arm to "speak" to you, displaying custom messages with each interaction. Maybe it taunts you. Maybe it apologizes. Maybe it refuses to acknowledge your existence entirely. With different reaction modes, the box can switch up its responses, making it feel like you’re arguing with a tiny, stubborn robot.
- Choosing a selection results in a full page refresh.

